ESP8266 NodeMCU: A Beginner's Guide to Getting Started with IoT Projects | FactKnowInfo
Introduction to ESP8266 NodeMCU
The ESP8266 NodeMCU is a powerful Wi-Fi-enabled microcontroller that has become a popular choice for IoT (Internet of Things) projects. It combines a microcontroller with built-in Wi-Fi capabilities, making it ideal for connecting devices to the internet and creating smart applications.
In this guide, we'll walk you through the basics of setting up and programming the ESP8266 NodeMCU, as well as provide some example projects to help you get started with your IoT journey.
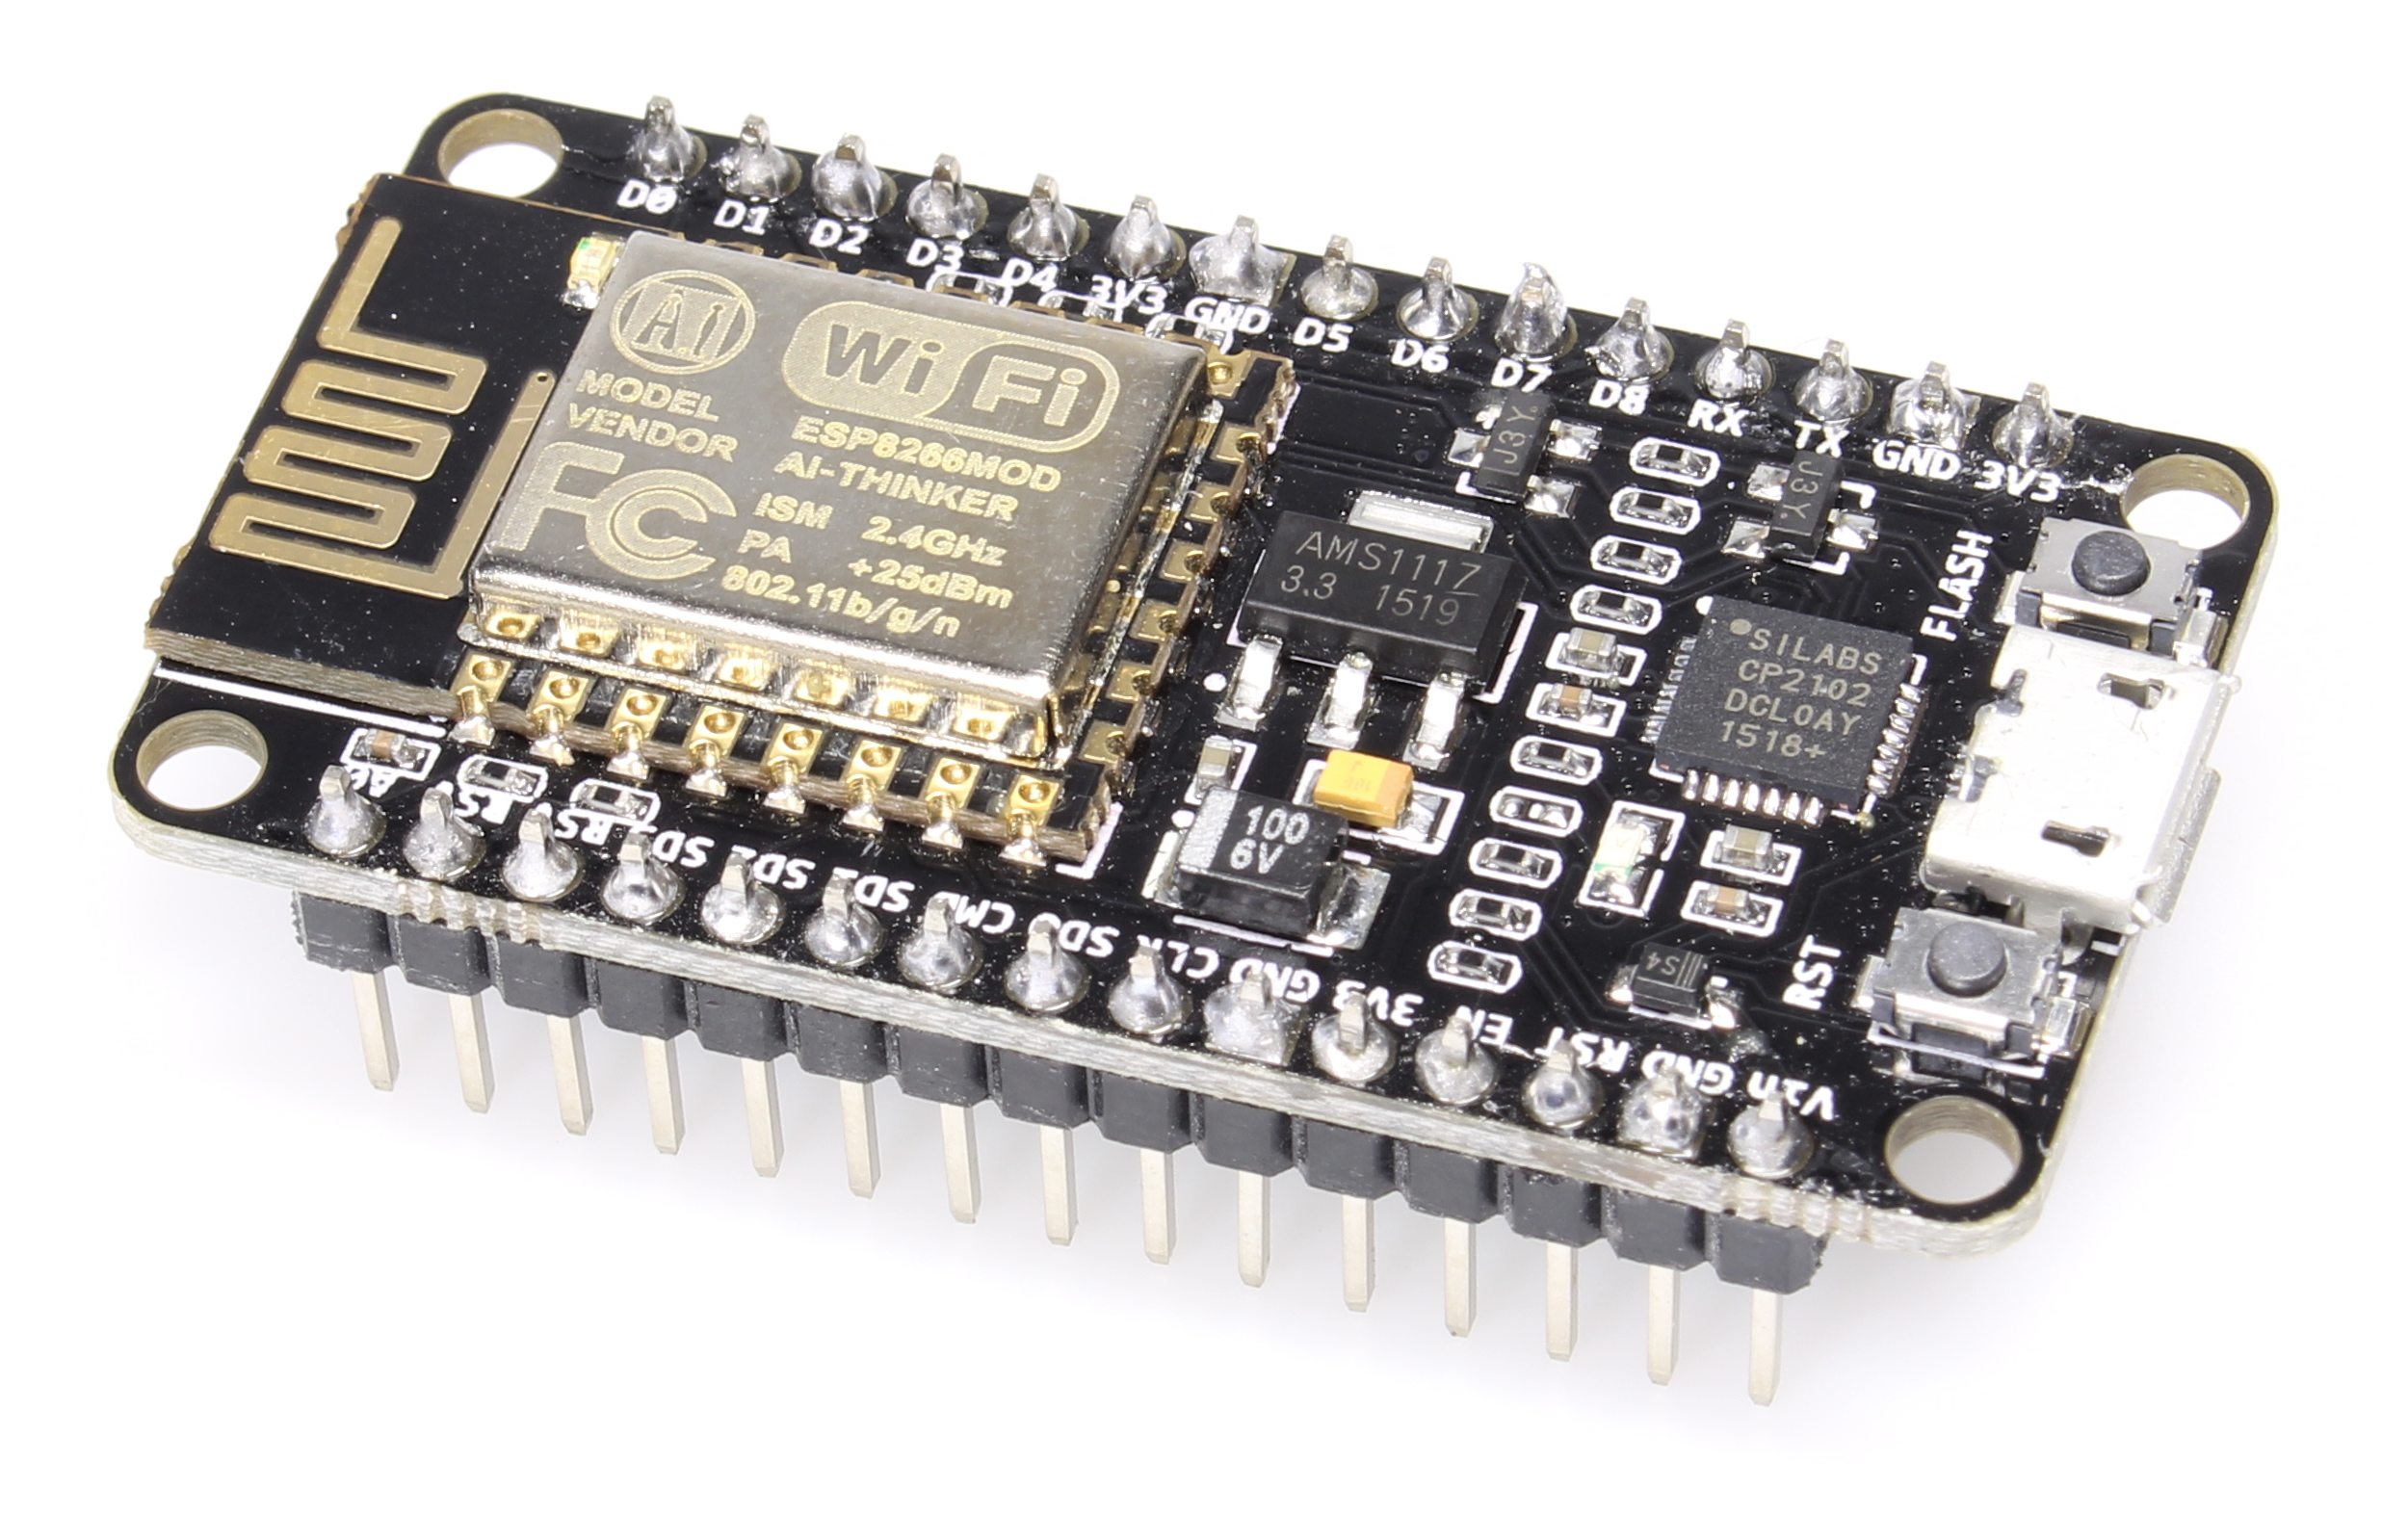
Image Source: Wikimedia Commons
What You'll Need
- ESP8266 NodeMCU board
- Micro-USB cable
- Arduino IDE installed on your computer
- Breadboard and jumper wires (optional, for prototyping)
- LEDs, resistors, and other components (optional, for projects)
Setting Up the ESP8266 NodeMCU
Step 1: Install the Arduino IDE
If you haven't already, download and install the Arduino IDE from the official Arduino website.
Step 2: Add ESP8266 Board to Arduino IDE
To program the ESP8266 NodeMCU, you need to add the ESP8266 board package to the Arduino IDE:
- Open the Arduino IDE and go to
File > Preferences. - In the "Additional Boards Manager URLs" field, enter the following URL:
http://arduino.esp8266.com/stable/package_esp8266com_index.json
- Click "OK" to save the preferences.
- Go to
Tools > Board > Boards Manager. - Search for "ESP8266" and install the "esp8266" package by ESP8266 Community.
Step 3: Select the NodeMCU Board
After installing the ESP8266 package, select the NodeMCU board:
- Go to
Tools > Boardand selectNodeMCU 1.0 (ESP-12E Module). - Choose the correct port under
Tools > Port.
Programming the ESP8266 NodeMCU
Now that your setup is complete, let's write a simple program to blink an LED connected to the ESP8266 NodeMCU.
Example: Blinking an LED
Connect an LED to the D4 pin (GPIO2) of the NodeMCU with a current-limiting resistor (e.g., 220Ω). Then, upload the following code to the board:
void setup() {
    pinMode(D4, OUTPUT);  // Set D4 as an output pin
}

void loop() {
    digitalWrite(D4, HIGH);  // Turn the LED on
    delay(1000);             // Wait for 1 second
    digitalWrite(D4, LOW);   // Turn the LED off
    delay(1000);             // Wait for 1 second
}
After uploading the code, you should see the LED blinking on and off every second.
Example IoT Project: Temperature and Humidity Monitor
Let's take it a step further and create a simple IoT project that monitors temperature and humidity using the DHT11 sensor and sends the data to the cloud.
What You'll Need
- DHT11 temperature and humidity sensor
- Breadboard and jumper wires
Step 1: Connect the DHT11 Sensor
Connect the DHT11 sensor to the NodeMCU as follows:
- VCC pin to
3.3V - GND pin to
GND - Data pin to
D4(GPIO2)
Step 2: Install the DHT Library
To read data from the DHT11 sensor, you need to install the DHT library:
- Go to
Sketch > Include Library > Manage Libraries. - Search for "DHT" and install the "DHT sensor library" by Adafruit.
Step 3: Upload the Code
Upload the following code to read temperature and humidity data:
#include <DHT.h>

#define DHTPIN D4     // Pin where the DHT11 is connected
#define DHTTYPE DHT11 // DHT 11

DHT dht(DHTPIN, DHTTYPE);

void setup() {
    Serial.begin(115200);
    dht.begin();
}

void loop() {
    float h = dht.readHumidity();
    float t = dht.readTemperature();

    if (isnan(h) || isnan(t)) {
        Serial.println("Failed to read from DHT sensor!");
        return;
    }

    Serial.print("Humidity: ");
    Serial.print(h);
    Serial.print(" %\t");
    Serial.print("Temperature: ");
    Serial.print(t);
    Serial.println(" *C");

    delay(2000); // Wait 2 seconds before next reading
}
Open the Serial Monitor (Tools > Serial Monitor) to view the temperature and humidity readings.
Conclusion
The ESP8266 NodeMCU is a versatile and affordable platform for building IoT projects. With its built-in Wi-Fi capabilities and easy-to-use development environment, it's an excellent choice for beginners and experienced makers alike.
We hope this guide has helped you get started with the ESP8266 NodeMCU. Now it's your turn to explore and create amazing IoT projects!


Comments
Post a Comment